Coast Flashlight Disassembly: A Step-by-Step Guide
In this article, we will provide a comprehensive guide on how to disassemble a Coast flashlight, particularly models like the Coast XP11R and the PX20. Whether you are looking to repair a faulty LED, replace a damaged wire, or simply wish to understand the internal components of your flashlight, this guide will walk you through the necessary steps.
We will cover tools needed for disassembly, tips for safely handling the flashlight components, and troubleshooting common issues encountered during the process. By the end of this article, you will feel confident in your ability to take apart and reassemble your Coast flashlight, ensuring it continues to function effectively.
Table of Contents
- Understanding Your Coast Flashlight
- Tools Required for Disassembly
- Step-by-Step Disassembly Process
- Troubleshooting Common Issues
- Reassembly Tips and Best Practices
- Frequently Asked Questions
Understanding Your Coast Flashlight
This section will provide an overview of the typical features and specifications of Coast flashlights, focusing on models like the XP11R and PX20. Understanding these details will help you better navigate the disassembly process.
Key Features of Coast Flashlights
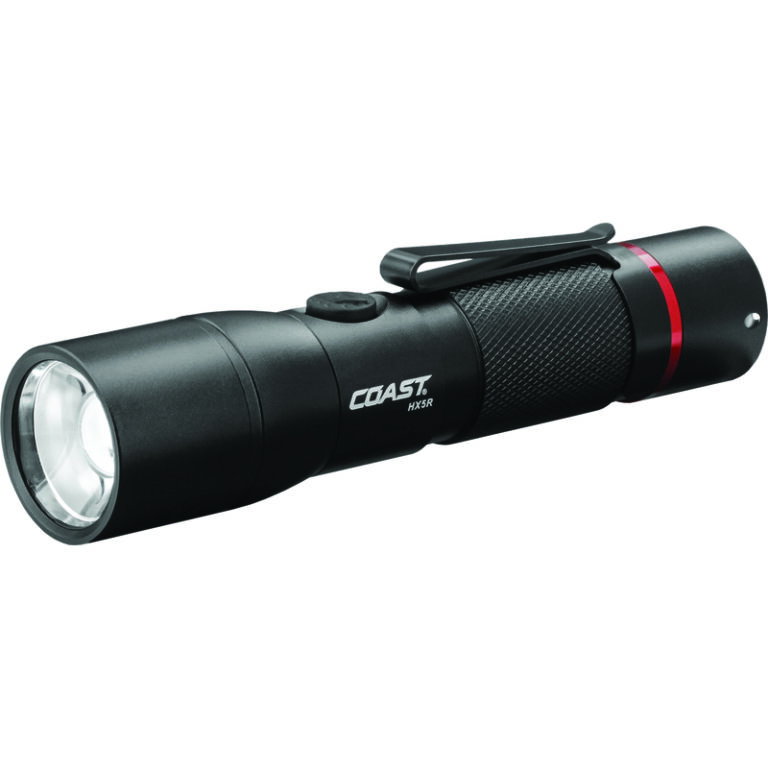
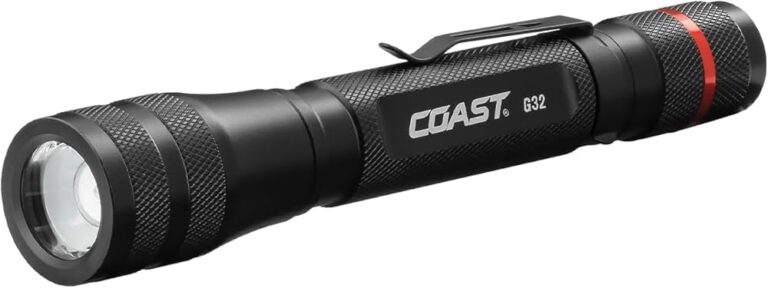
Coast flashlights, such as the XP11R and PX20, are recognized for their robust construction and advanced lighting technology. The PX20 model, for example, features a maximum output of 400 lumens and can illuminate distances of up to 126 meters.
This makes it suitable for various applications, from outdoor adventures to emergency situations. The XP11R model boasts similar specifications but adds rechargeable battery capabilities, enhancing convenience for frequent users.
Common Issues with Coast Flashlights
Users often encounter issues like flickering lights or complete failure to turn on. Common causes include dead batteries, faulty wiring, or damaged LEDs.
In many cases, simply replacing the batteries can resolve these issues. However, if the problem persists, a thorough disassembly might be required to inspect internal components.
Importance of Regular Maintenance
Regular maintenance not only prolongs the lifespan of your Coast flashlight but also ensures optimal performance. This includes periodically cleaning the exterior, checking for any signs of wear, and ensuring that the battery contacts are clean and free from corrosion.
Maintenance can prevent more significant issues, saving you time and money in repairs.
Tools Required for Disassembly
An overview of the tools necessary for safely disassembling a Coast flashlight. This will include both common household tools and specialized equipment that may be beneficial.
Essential Tools for Disassembly
To effectively disassemble a Coast flashlight, you will need a few essential tools:
- Small Phillips screwdriver
- Flathead screwdriver
- Pliers (preferably needle-nose)
- Tweezers
- Multimeter (for electrical testing)
Recommended Safety Gear
When working with electronic components, safety should always be a priority. It is advisable to wear:
- Safety glasses to protect your eyes
- Gloves to avoid electrical shocks
Optional Tools for Advanced Repairs
If you plan on performing more complex repairs, consider having the following tools on hand:
- Soldering iron (for re-soldering wires)
- Heat shrink tubing (for securing connections)
- Digital caliper (for precise measurements)
Step-by-Step Disassembly Process
A detailed guide on the disassembly process for Coast flashlights, specifically focusing on the XP11R and PX20 models. Each step will be clearly outlined to ensure ease of understanding.
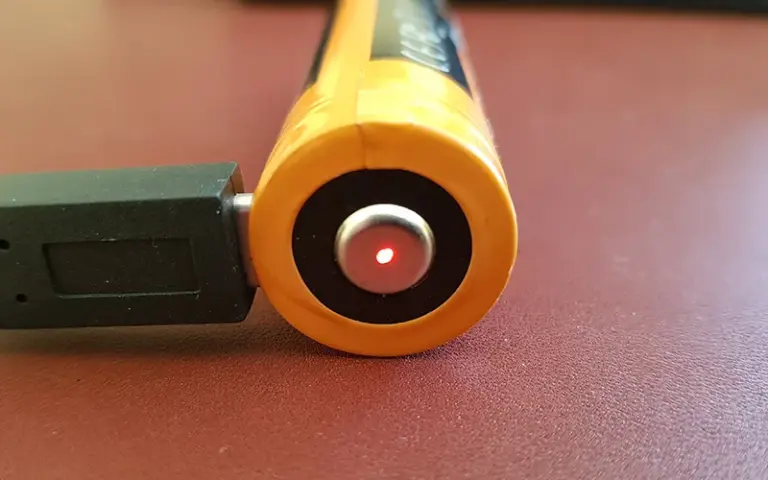
Removing the Tail Cap
Begin by unscrewing the tail cap of the flashlight. This is typically done by twisting it counterclockwise.
If the tail cap is stuck, applying a small amount of lubricant may help loosen it. Ensure you hold the flashlight firmly to prevent it from slipping as you apply torque.
Accessing the Battery Compartment
Once the tail cap is removed, you can access the battery compartment. For the PX20, this involves removing the battery cartridge and replacing the batteries as needed.
Be careful to observe the polarity markings inside the compartment and replace the batteries accordingly.
Disassembling the Head and LED Components
To access the LED components, you may need to unscrew the head of the flashlight. This can often be done by turning it counterclockwise.
Once opened, inspect the LED and its connections. If you encounter any damaged wires or components, make note of them for replacement.
Troubleshooting Common Issues
This section will address frequent problems encountered during the disassembly process, such as stuck components or damaged wiring. Solutions and preventive measures will be discussed.
Dealing with Stuck Parts
If any parts of the flashlight become stuck during disassembly, try using a rubber grip pad or a pair of gloves to gain better traction. If this does not work, consider applying a penetrating oil and allowing it to sit for a few minutes before attempting to unscrew the part again.
Identifying Electrical Issues
Electrical issues often manifest as flickering lights or failure to turn on. Utilize a multimeter to check for continuity in the wiring.
If an issue is found, you may need to re-solder connections or replace the LED component entirely.
Replacing Wires and LED Components
In cases where wires are frayed or broken, they will need to be replaced. Strip the insulation from the ends of the wire and use a soldering iron to connect new wires in place of the old ones.
Ensure that all connections are secure and insulated with heat shrink tubing to prevent future issues.
Reassembly Tips and Best Practices
After disassembly, it’s crucial to reassemble the flashlight correctly. This section will provide tips to ensure the flashlight functions optimally after reassembly.
Ensuring Proper Alignment
As you reassemble the flashlight, ensure that all components are aligned properly. Misalignment can lead to operational issues and damage.
Double-check that the LED assembly is seated correctly in its housing.
Testing Functionality Before Sealing
Before sealing the flashlight, test its functionality by turning it on and cycling through the light modes. This will help you confirm that everything is working as expected before finalizing the assembly.
Maintenance Tips Post-Reassembly
After reassembly, take the time to clean the flashlight’s exterior and check the O-rings to ensure they provide a proper seal for water resistance. Proper maintenance will enhance the longevity and performance of your flashlight.
Frequently Asked Questions
How do I safely disassemble my Coast flashlight?
To safely disassemble your Coast flashlight, first gather the necessary tools, including small screwdrivers and pliers. Begin by unscrewing the tail cap and accessing the battery compartment.
Follow the disassembly steps outlined in this guide, ensuring you handle each component with care to avoid damage.
What tools do I need for disassembly?
Essential tools for disassembling a Coast flashlight include a small Phillips screwdriver, flathead screwdriver, pliers, tweezers, and a multimeter. For added safety, consider wearing safety goggles and gloves during the process to protect yourself from potential electrical hazards.
What common problems should I look for?
Common problems to look for include flickering lights, failure to turn on, or dimming brightness. These issues may be caused by dead batteries, faulty wiring, or damaged LED components.
Inspect the flashlight thoroughly for any signs of wear or damage during disassembly.
How can I troubleshoot electrical issues?
To troubleshoot electrical issues, use a multimeter to test for continuity in the wiring. If you find any breaks or faults, you may need to re-solder connections or replace the LED if it is faulty.
Make sure all connections are secure and free from corrosion.
Is it safe to replace the LED on my Coast flashlight?
Yes, it is safe to replace the LED on your Coast flashlight if you follow proper disassembly procedures and take necessary precautions. Ensure that you have the correct replacement LED and tools, and be careful when handling electrical components to avoid damage.
How do I ensure my flashlight is reassembled correctly?
To ensure your flashlight is reassembled correctly, double-check the alignment of all components before sealing. Test the flashlight for functionality after reassembly to confirm that it operates as expected.
Following the reassembly tips provided in this guide will help ensure a proper fit.
Conclusion
In conclusion, disassembling your Coast flashlight can be a straightforward process when guided by the right instructions. By understanding the internal components and following the steps outlined in this article, you can efficiently carry out repairs and maintenance on your flashlight.
Regular disassembly and cleaning can enhance the longevity and performance of your device. Remember to always prioritize safety and handle all components with care.
If you encounter issues beyond your expertise, consider reaching out to customer support for professional assistance.