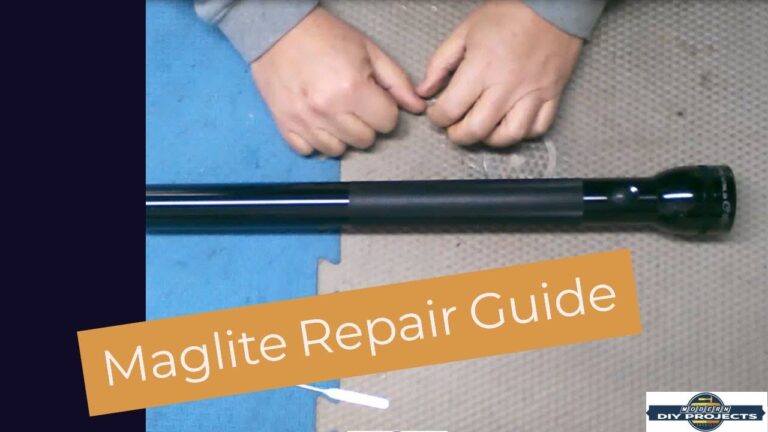
Mini Maglite Battery Cap Stuck: Effective Solutions and Tips
The Mini Maglite flashlight is a portable lighting solution that many users appreciate for its reliability and durability. However, one common issue that users face is a stuck battery cap, often due to corrosion from leaking batteries.
This article aims to provide comprehensive solutions to this frustrating problem, drawing on various user experiences and expert recommendations. We will explore the reasons for a stuck cap, effective methods for removing it without damaging the flashlight, and best practices for preventing future issues.
Whether you’re a long-time user or new to the Mini Maglite, this guide will help you troubleshoot and resolve the issue effectively.
Table of Contents
- Understanding the Problem
- Tools and Materials Needed
- Step-by-Step Removal Techniques
- Handling Corroded Batteries
- Preventative Measures for Future Use
- When to Seek Professional Help
- FAQ
- Conclusion
Understanding the Problem
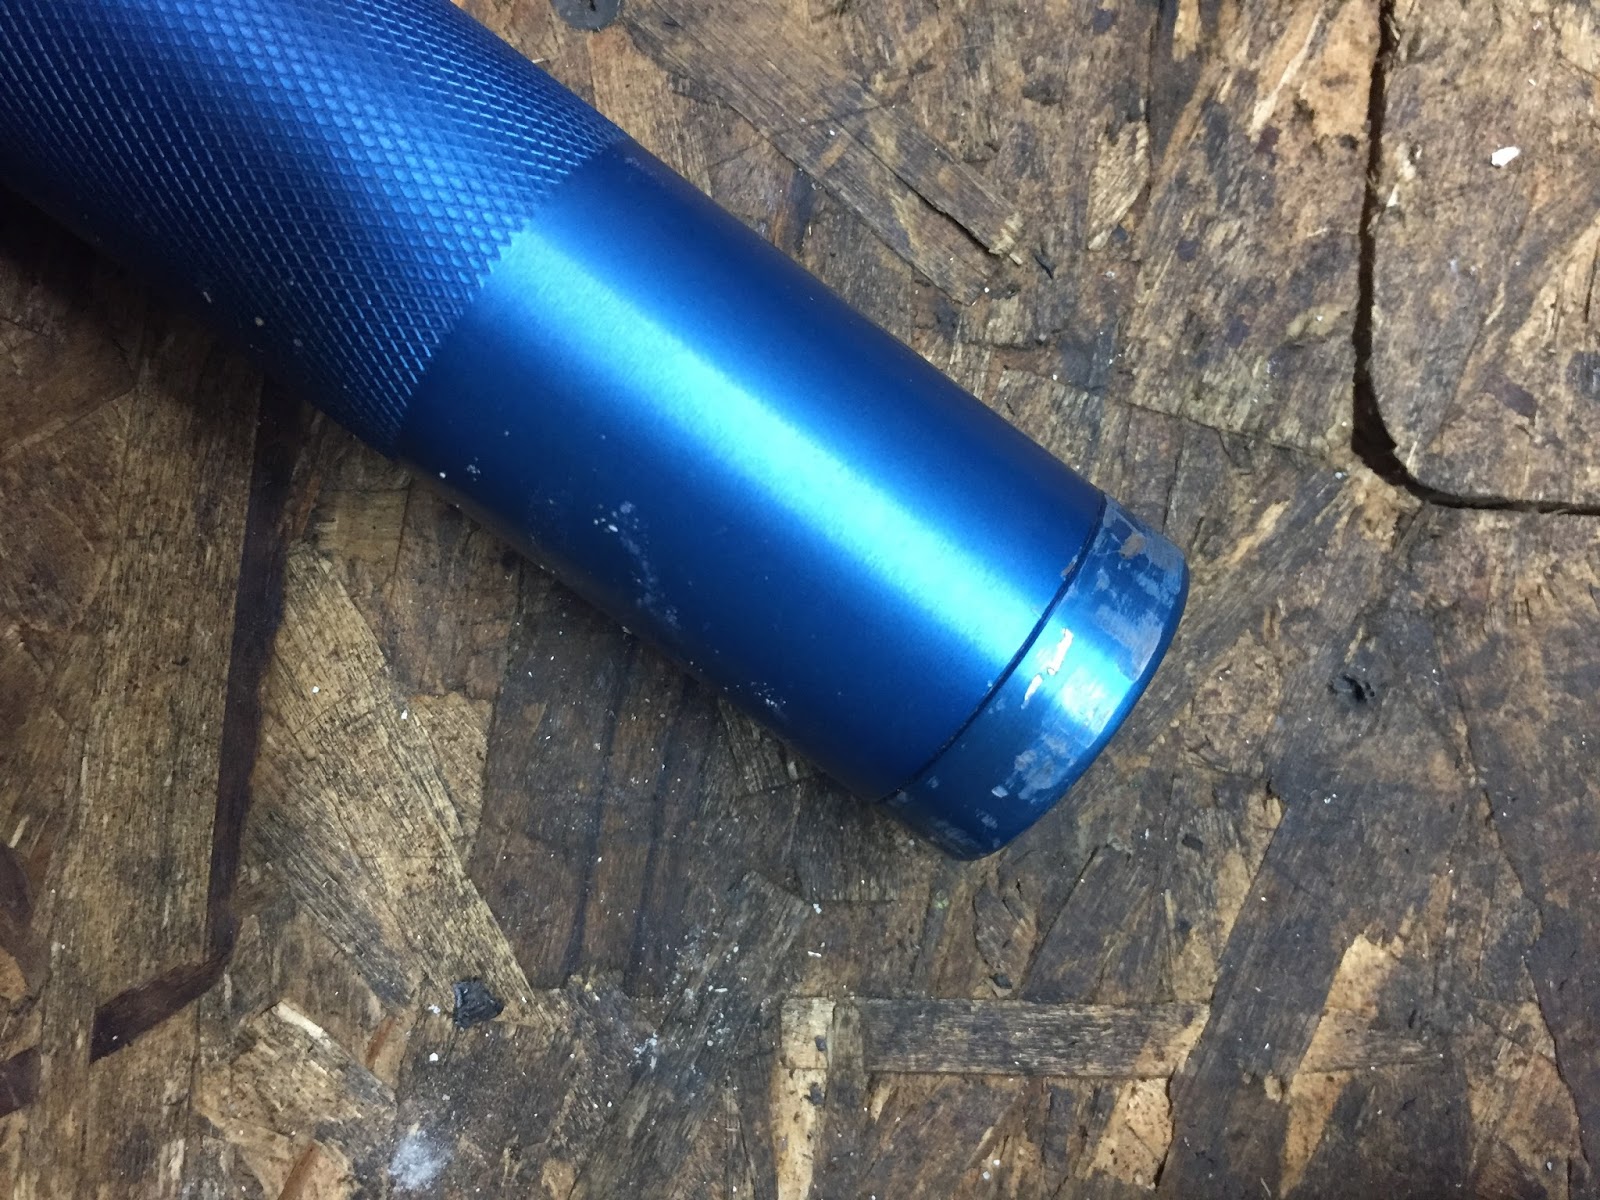
A stuck battery cap in a Mini Maglite is often the result of battery leakage, which leads to corrosion and makes it difficult to remove the cap. Understanding the causes of this issue is the first step toward resolving it.
Why Batteries Leak
Batteries can leak for several reasons, including age, improper storage, and manufacturing defects. Alkaline batteries, which are commonly used in flashlights like the Mini Maglite, are particularly prone to leakage as they age.
According to user reports, a significant percentage of users have experienced battery leakage issues, with estimates suggesting that up to 30% of users have encountered this problem at least once.
Impact of Corrosion on the Cap
Corrosion occurs when the electrolyte inside the battery leaks out and reacts with the metal components of the flashlight. This reaction can create a white, crusty residue that binds the battery cap to the flashlight body.
Corrosion can also damage the electrical contacts, making it more challenging to restore functionality to the flashlight.
Signs of a Stuck Cap
Common signs that your Mini Maglite battery cap is stuck include:
- The cap does not turn when twisted.
- Visible corrosion around the cap area.
- Resistance when attempting to unscrew the cap.
Common Battery Types and Their Leakage Tendencies
| Battery Type | Leakage Tendency |
|---|---|
| Alkaline | High |
| Nickel-Metal Hydride (NiMH) | Moderate |
| Lithium | Low |
This table shows the varying tendencies of different battery types to leak. Alkaline batteries, as noted, have a high likelihood of leaking, which can lead to the corrosion of the battery cap in devices like the Mini Maglite.
Switching to rechargeable battery types, such as NiMH or lithium, could significantly reduce the risk of leakage.
Tools and Materials Needed
To safely remove a stuck battery cap from a Mini Maglite, you will need specific tools and materials. Having the right equipment can make the process easier and minimize the risk of damage to the flashlight.
Recommended Tools
Here are some tools that will help in the removal process:
- Flat-head screwdriver
- Penetrating oil (e.g., WD-40)
- Pliers or vice grips
- Heat source (e.g., hair dryer or heat gun)
Cleaning Materials
For cleaning the corrosion once the cap is removed, consider these materials:
- Vinegar
- Baking soda
- Rubbing alcohol
- Cotton swabs
- Soft cloth or paper towels
Safety Gear
When working with potentially hazardous materials, it’s essential to wear appropriate safety gear:
- Gloves to protect your hands from chemicals and corrosion.
- Safety goggles to shield your eyes from debris.
- A mask if you’re working in a confined space with fumes.
Tool Comparison for Effectiveness
| Tool | Effectiveness Rating (1-5) | Cost-Effectiveness |
|---|---|---|
| Flat-head screwdriver | 5 | High |
| Pliers | 4 | High |
| Penetrating oil | 4 | Medium |
| Heat source | 5 | Medium |
The above table illustrates the effectiveness of various tools needed to tackle a stuck battery cap. Each tool has a role to play, but combining them effectively can yield the best results.
The flat-head screwdriver is essential, while a heat source can be invaluable in loosening stubborn caps.
Step-by-Step Removal Techniques
Removing a stuck battery cap can be challenging, but several methods can help dislodge it without causing damage to the flashlight. Below are detailed instructions for various techniques.
Using Penetrating Oil
Applying penetrating oil can help break down the corrosion around the battery cap. Here’s how to do it:
- Apply a small amount of penetrating oil, like WD-40, around the edge of the battery cap.
- Let it soak for about 15-20 minutes to allow the oil to penetrate the corrosion.
- Attempt to twist the cap gently counter-clockwise using a flat-head screwdriver or your hands.
Tapping Methods with Screwdrivers
This method involves carefully tapping the cap to loosen it:
- Position a flat-head screwdriver in the groove of the cap.
- Use a hammer to gently tap the end of the screwdriver, applying slight pressure to turn the cap counter-clockwise.
- Be cautious not to apply too much force, as this can damage the cap or the flashlight.
Heating Techniques
Applying heat can expand the metal and loosen the cap:
- Use a hair dryer or heat gun to apply heat around the battery cap for about 30 seconds.
- After heating, try to unscrew the cap again, using a flat-head screwdriver if necessary.
- Be careful not to overheat, as this could damage the flashlight casing.
Pros and Cons of Each Method
| Method | Pros | Cons |
|---|---|---|
| Penetrating Oil | Effective for corrosion | May take time to work |
| Tapping with Screwdriver | Quick and straightforward | Risk of damaging the cap |
| Heating Techniques | Expands metal for easier removal | Requires caution to avoid overheating |
This table summarizes the pros and cons of each method for removing a stuck battery cap. While penetrating oil is a reliable choice, tapping and heating methods can provide quicker results, albeit with some risks involved.
Always proceed with caution to prevent damage to your Mini Maglite.
Handling Corroded Batteries
Once you’ve successfully removed the stuck cap, you may encounter corroded batteries. It’s crucial to handle these with care to prevent further damage to the flashlight.
Chemical Cleaning Solutions
To neutralize battery corrosion, consider using a mixture of vinegar and baking soda:
- Mix a solution of equal parts vinegar and baking soda.
- Apply this solution to the corroded areas using a cotton swab.
- Let it sit for 10-15 minutes, allowing the reaction to neutralize the corrosion.
Physical Removal Techniques
If the batteries are stuck, you may need to physically remove them:
- Drill a small hole in the center of the battery to allow for air and fluid penetration.
- Insert a screw into the hole, using pliers to pull the battery out.
- For extremely stuck batteries, you may need to use a vice grip to apply more force.
Tools for Cleaning Corrosion
Effective tools for cleaning the corrosion include:
- Dental picks for scraping
- Q-tips for applying cleaning solutions
- Soft cloths for wiping down
Effectiveness of Cleaning Solutions
| Solution | Effectiveness Rating (1-5) |
|---|---|
| Vinegar and Baking Soda | 5 |
| Rubbing Alcohol | 4 |
| Commercial Battery Cleaner | 3 |
The table above rates the effectiveness of various cleaning solutions for battery corrosion. Vinegar and baking soda emerge as the most effective options, being readily available and inexpensive.
Regular use of these solutions can help maintain the longevity of your flashlight.
Preventative Measures for Future Use
To prevent future occurrences of stuck battery caps due to leakage, consider implementing the following measures:
Choosing the Right Batteries
Selecting batteries that are less prone to leakage can significantly reduce the risk. Rechargeable batteries, such as nickel-metal hydride (NiMH) or lithium-ion, are recommended as they have lower leakage tendencies compared to alkaline batteries.
Regular Maintenance Tips
Routine checks of your Mini Maglite can help catch potential issues early:
- Inspect the battery compartment regularly for signs of corrosion.
- Remove batteries if the flashlight will not be used for an extended period.
- Clean the battery contacts periodically to ensure good connectivity.
Storage Recommendations
Proper storage of your Mini Maglite can prevent battery issues:
- Store in a cool, dry place to minimize temperature fluctuations.
- Avoid leaving batteries in the flashlight for long periods if not in use.
- Consider using battery cases to protect them from moisture and corrosion.
Lifespan of Different Battery Types
| Battery Type | Typical Lifespan (Years) |
|---|---|
| Alkaline | 1-2 |
| NiMH | 3-5 |
| Lithium | 5-10 |
This table highlights the typical lifespan of various battery types used in flashlights. Opting for NiMH or lithium batteries can extend the time between replacements, reducing the chances of leakage and the resultant stuck cap issues.
When to Seek Professional Help
Sometimes, DIY methods may not yield the desired results, and it may be necessary to seek professional assistance. Recognizing when to do so can save time and prevent further damage.
Signs of Serious Damage
If you notice significant damage to the flashlight, such as cracks in the casing or severe corrosion, it may be best to consult a professional. Attempting to force open a severely corroded cap can lead to more extensive damage.
Cost Analysis of Repair vs. Replacement
When considering whether to repair or replace your Mini Maglite, weigh the costs:
- Repair costs can vary widely, often ranging from $20 to $70 depending on the extent of the damage.
- Replacement costs for a new Mini Maglite typically start around $20, making it a viable option if repairs are costly.
Warranty Options
Many Mini Maglite products come with a warranty that covers defects and some types of damage. If your flashlight is still under warranty, contacting the manufacturer may provide a cost-effective solution.
Be sure to keep your receipts and documentation of any issues for warranty claims.
Cost Breakdown of Repair Services
| Service Type | Average Cost |
|---|---|
| Basic Cleaning and Repair | $20 |
| Corrosion Removal | $40 |
| Full Replacement | $60-$70 |
This table provides a breakdown of potential repair costs associated with a Mini Maglite. As seen, basic cleaning is the most cost-effective, while full replacement can be significantly higher.
Weighing these options can help you make an informed decision.
FAQ
What should I do if my Mini Maglite battery cap won’t budge?
If your Mini Maglite battery cap won’t budge, try applying penetrating oil around the cap and letting it sit for about 15-20 minutes. Afterward, use a flat-head screwdriver to gently tap the cap counter-clockwise.
If that doesn’t work, consider using heat to expand the metal, which may help loosen it.
How can I tell if my batteries have leaked?
Signs of leaked batteries include visible corrosion around the battery compartment, a white or crusty residue, and the inability to remove the batteries easily. If you encounter these signs, it’s essential to clean the area thoroughly to prevent damage to the flashlight.
Is it safe to use penetrating oil on my flashlight?
Yes, using penetrating oil like WD-40 is generally safe for flashlights, provided you apply it sparingly and avoid flooding the internal components. Ensure that you wipe away any excess oil before reassembling the flashlight to prevent it from causing any issues with the electrical contacts.
Can I prevent battery leakage in my Mini Maglite?
To prevent battery leakage, consider using rechargeable batteries, as they tend to leak less than alkaline batteries. Additionally, regularly inspect and maintain your flashlight, removing batteries if it will not be used for an extended period.
What are the best batteries to use in my Mini Maglite to avoid leaks?
The best batteries to use in your Mini Maglite to minimize the risk of leaks are nickel-metal hydride (NiMH) or lithium-ion batteries. Both types have lower leakage tendencies compared to traditional alkaline batteries, ensuring better performance and longevity.
Conclusion
In conclusion, dealing with a stuck battery cap on a Mini Maglite can be frustrating, but with the right tools and techniques, it is manageable. By understanding the causes of battery leakage, employing effective removal methods, and implementing preventative measures, users can maintain the functionality of their Mini Maglite for years to come.
Regular maintenance and careful battery selection are crucial in ensuring your flashlight remains a reliable tool. Feel free to share your personal experiences and tips in the comments section, fostering a supportive community among Mini Maglite users.